BookStack
Getting started
Starting the app
Create an account on NWS Customer Interface.
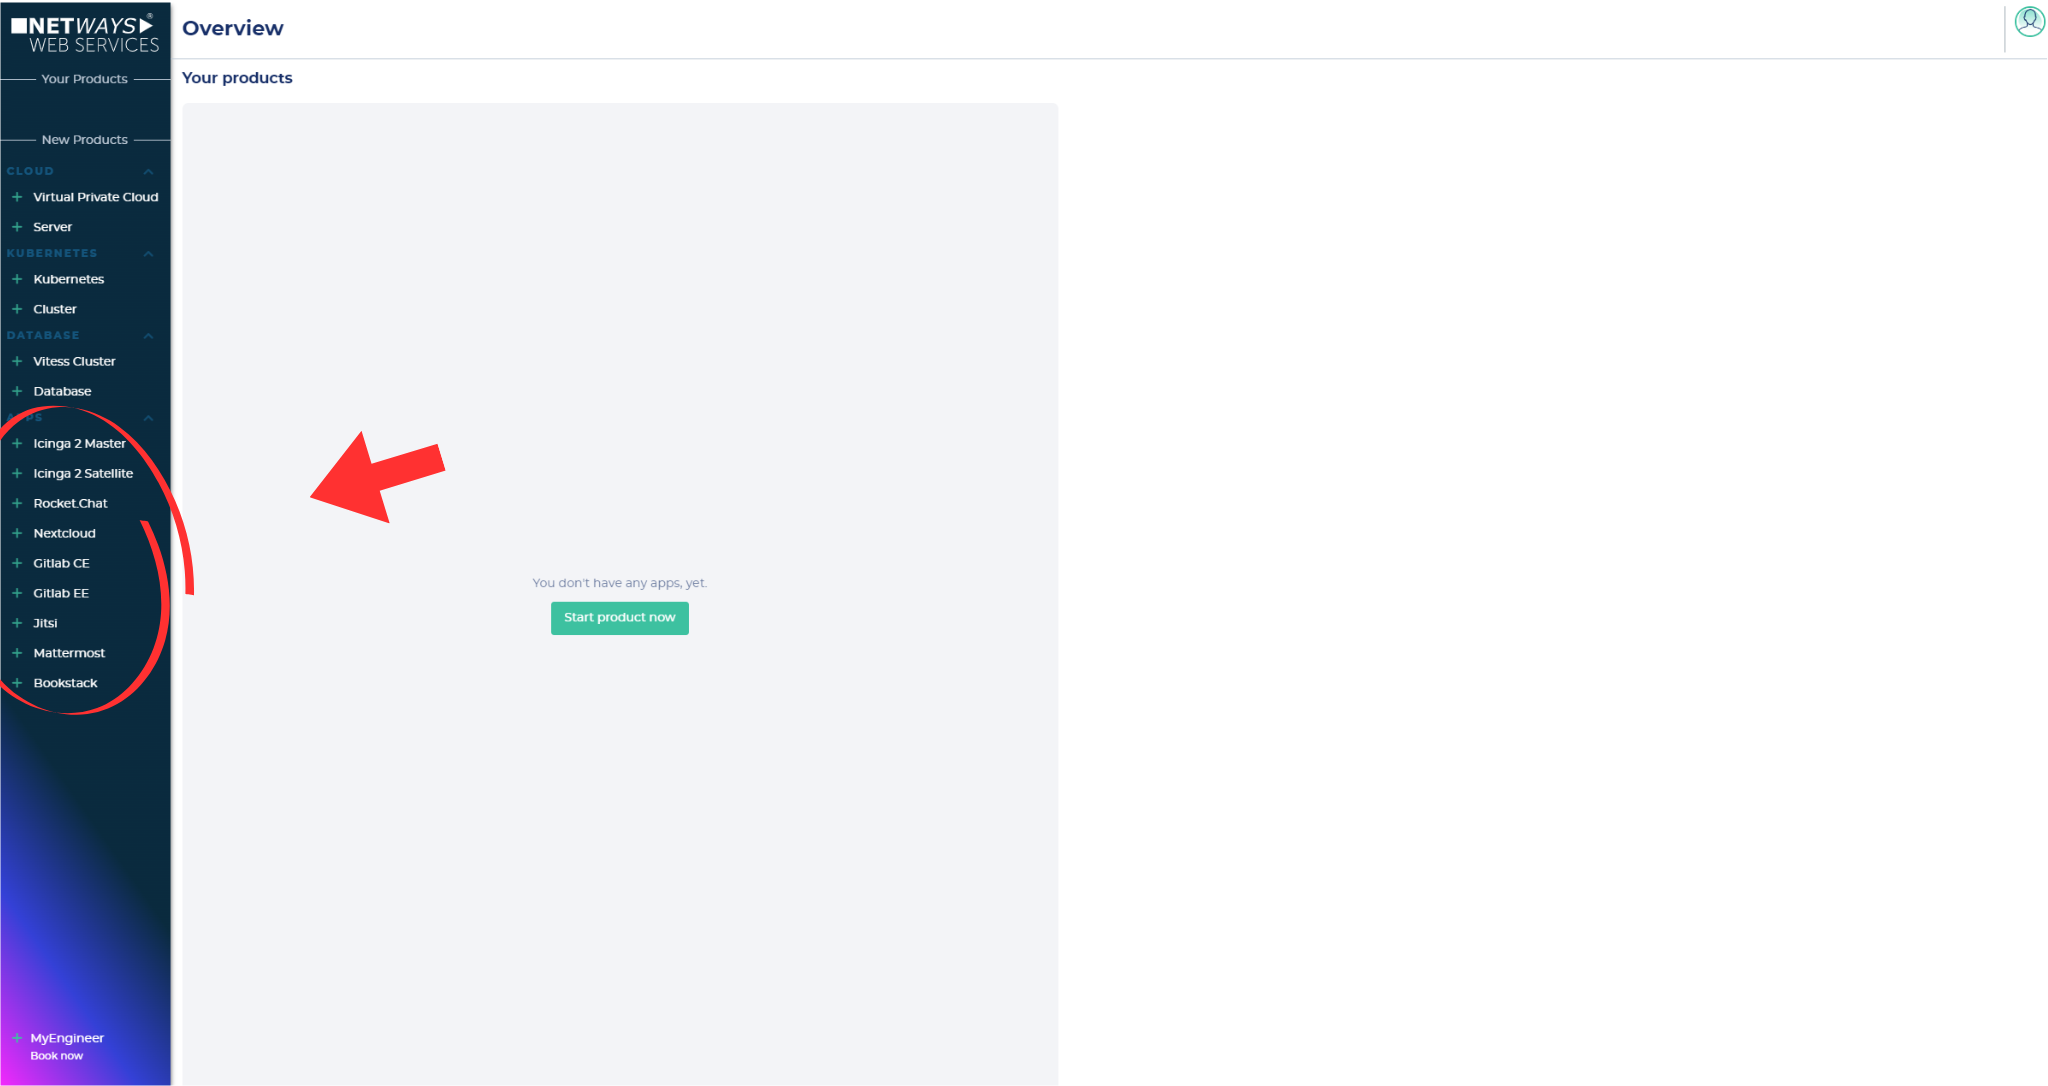
- After finishing your registration, you have two possibilities to start your app:
- Click on the desired service at the left tool bar

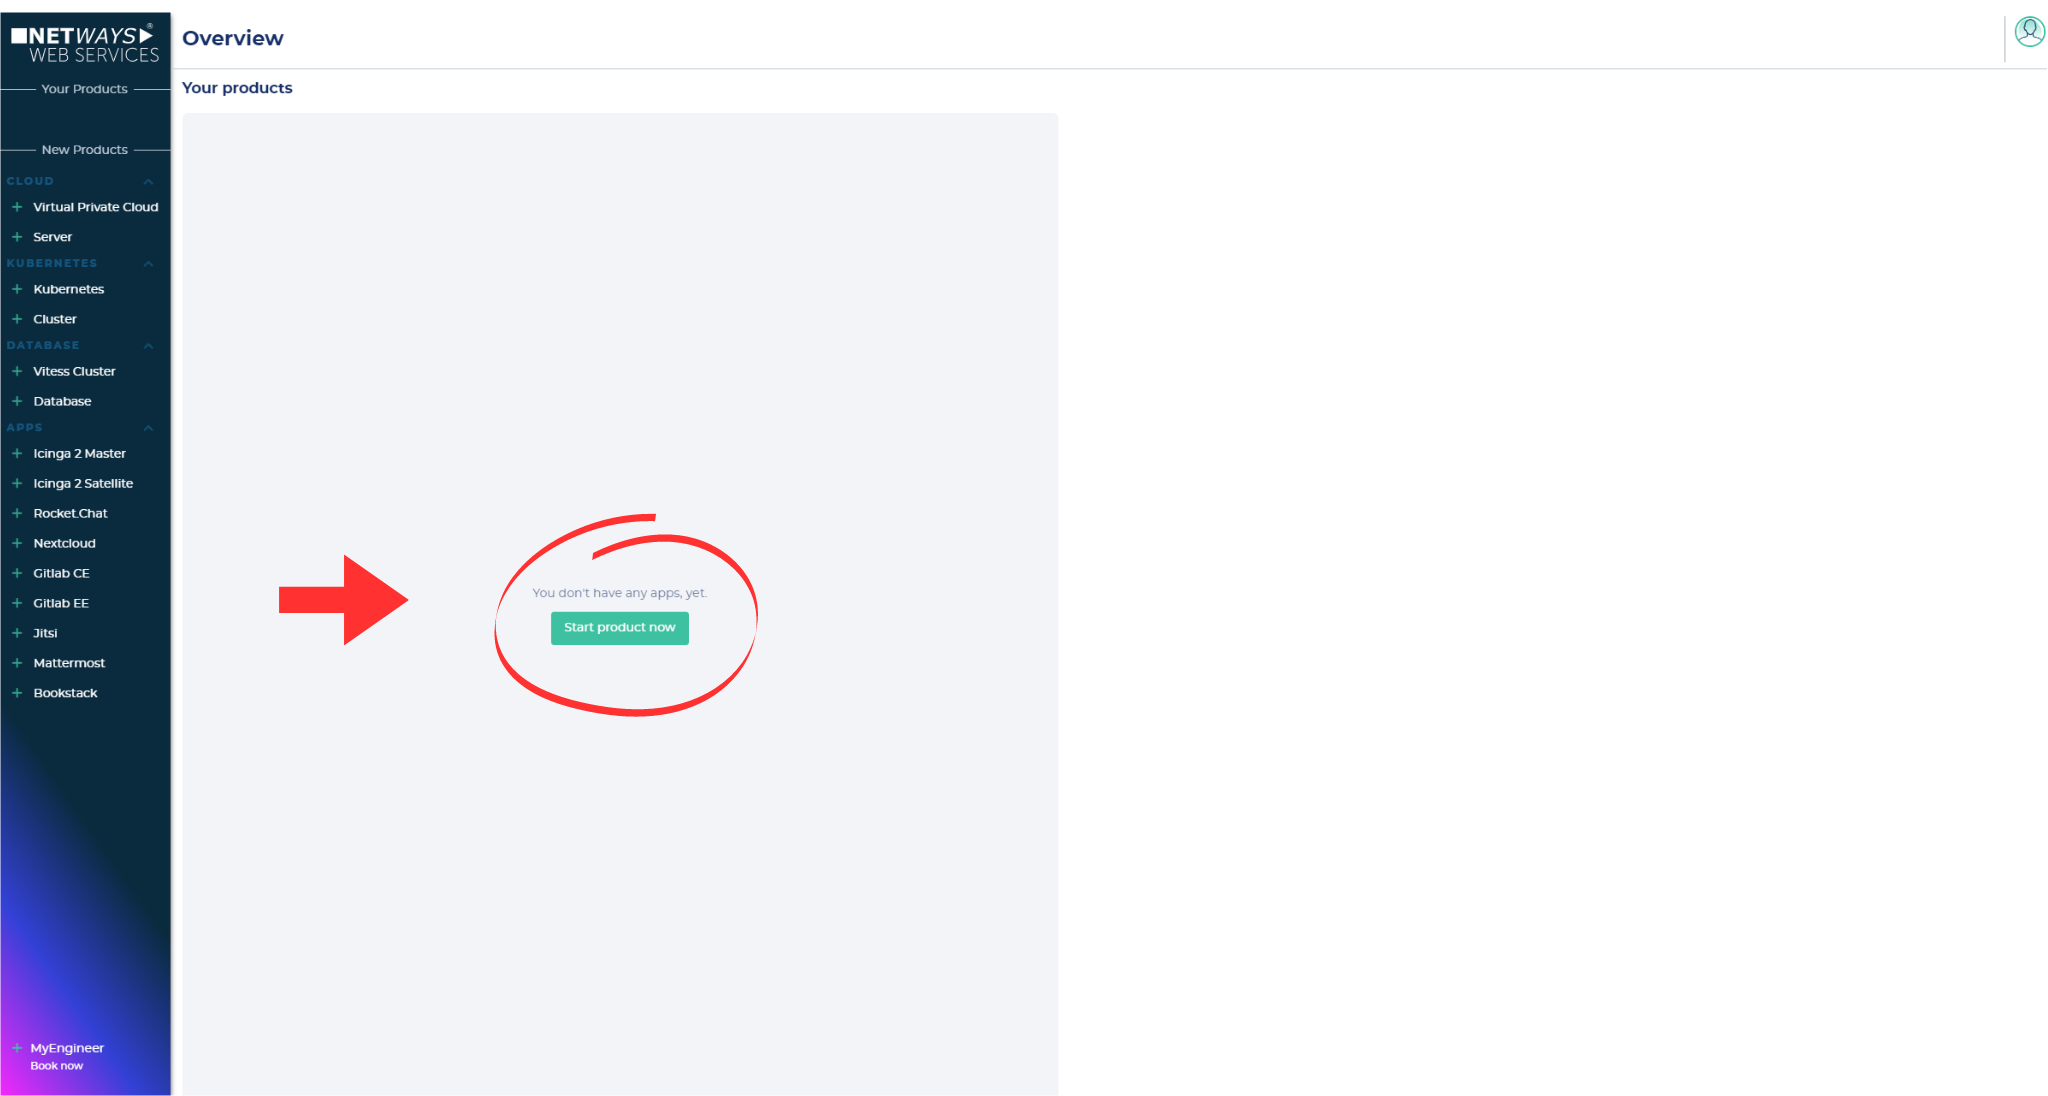
- Click on the "start app now"-button and choose the desired service


- Click on the desired service at the left tool bar
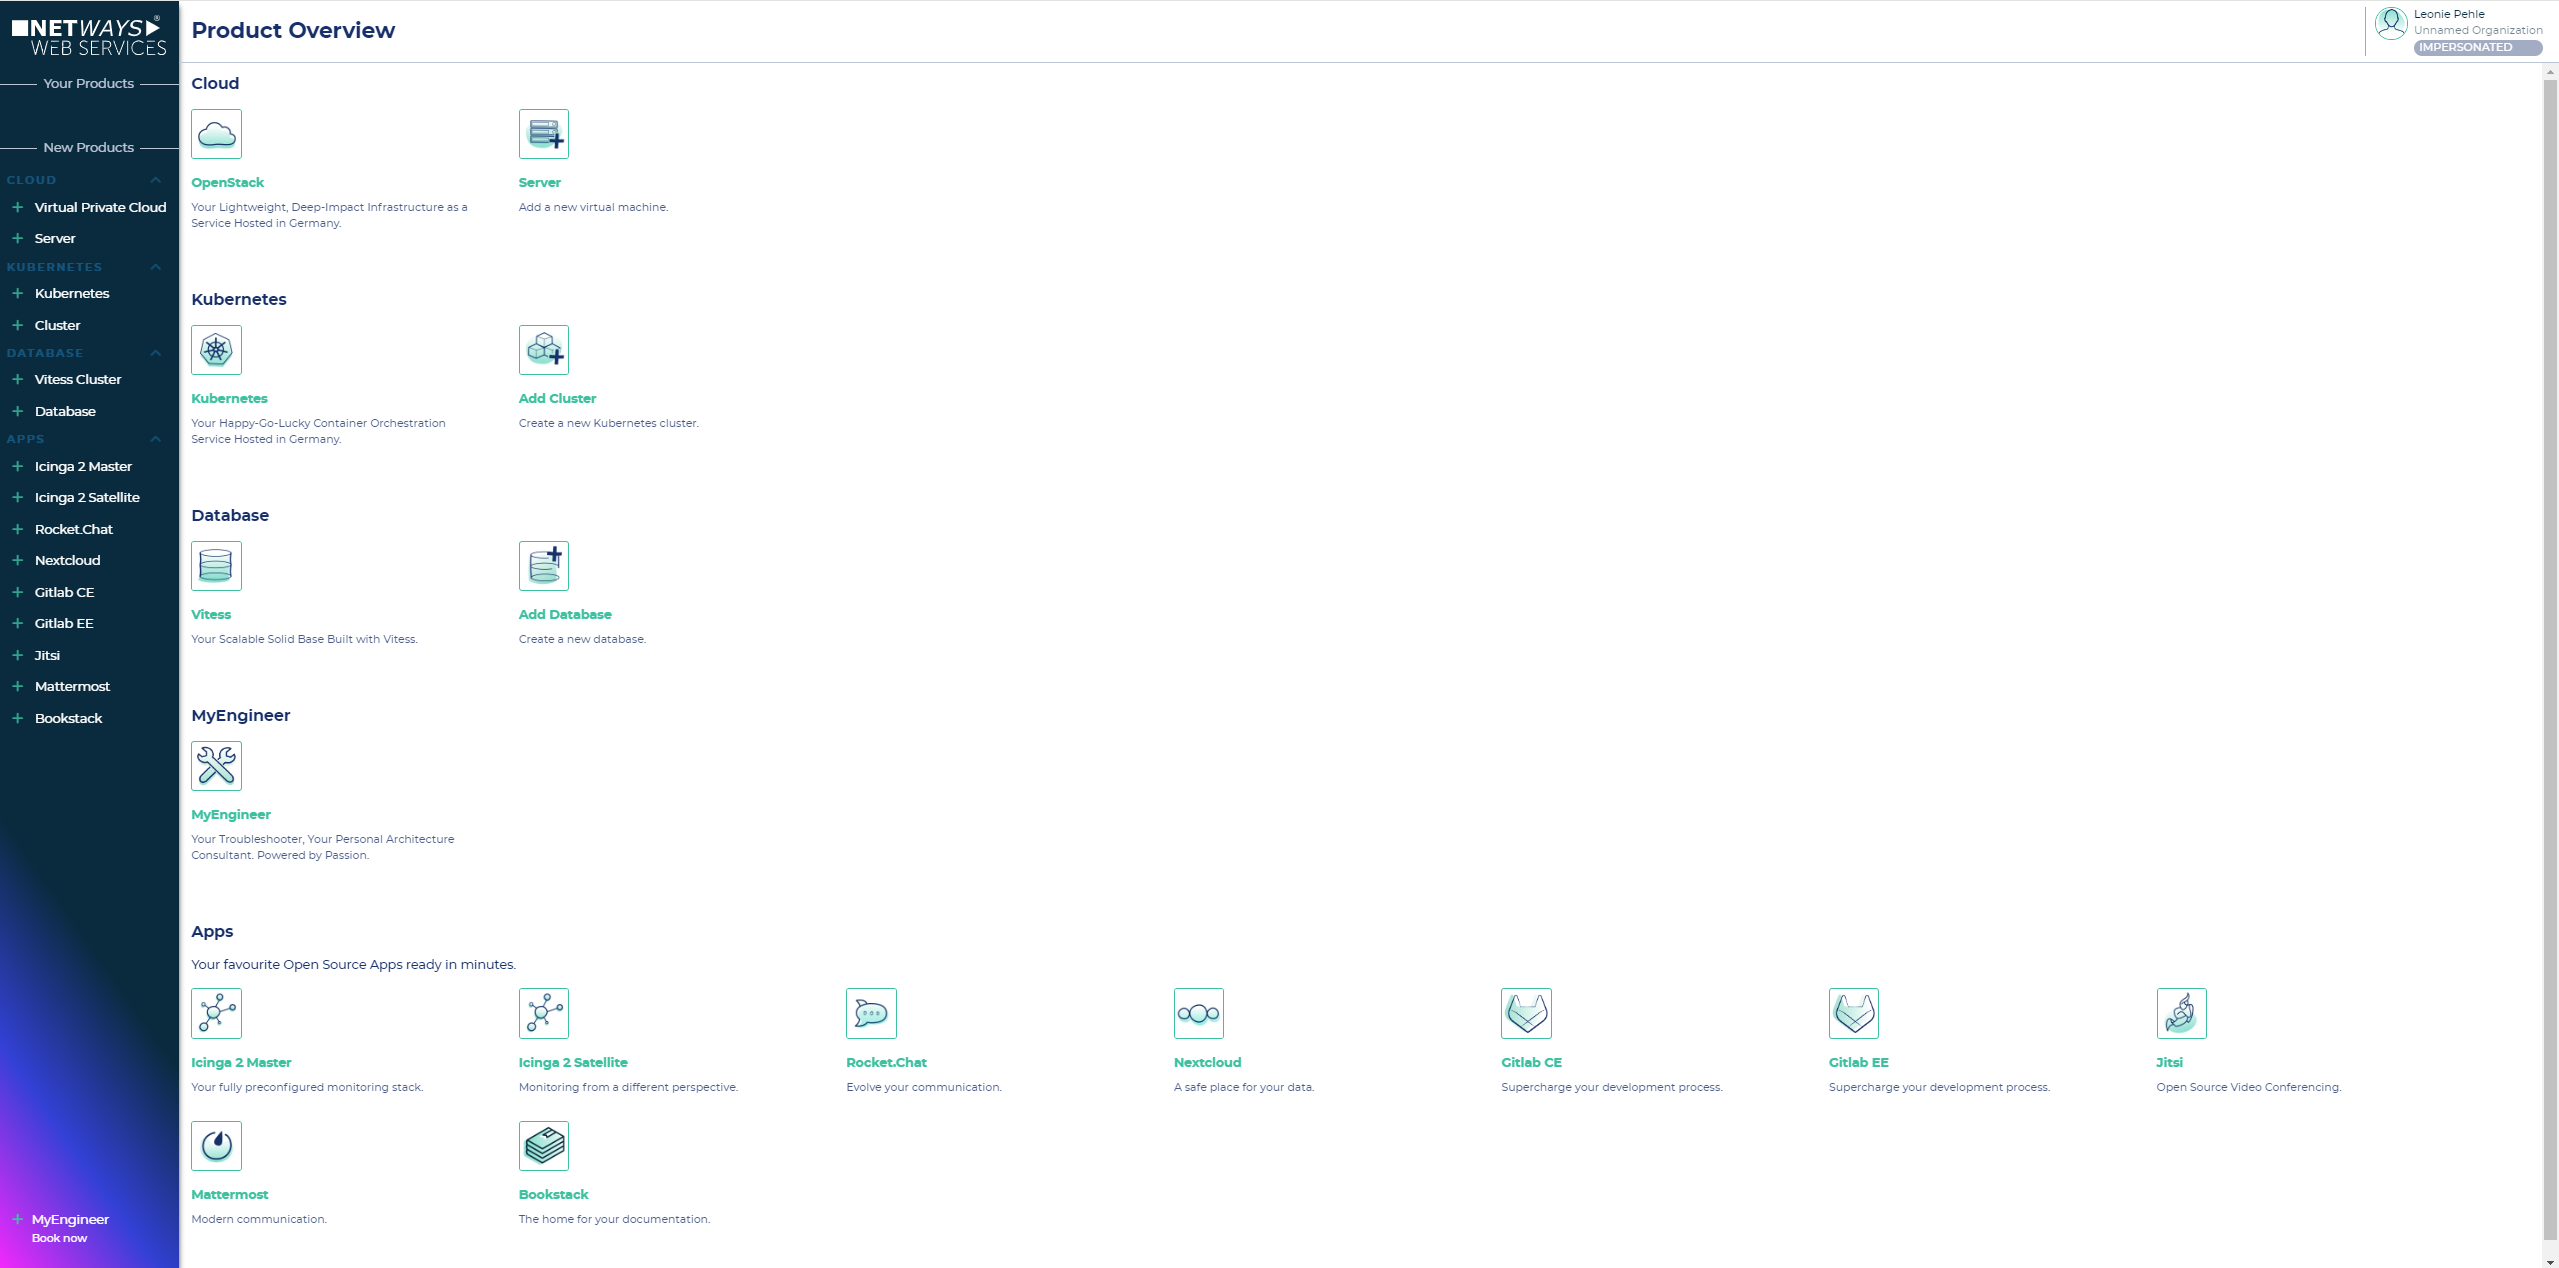
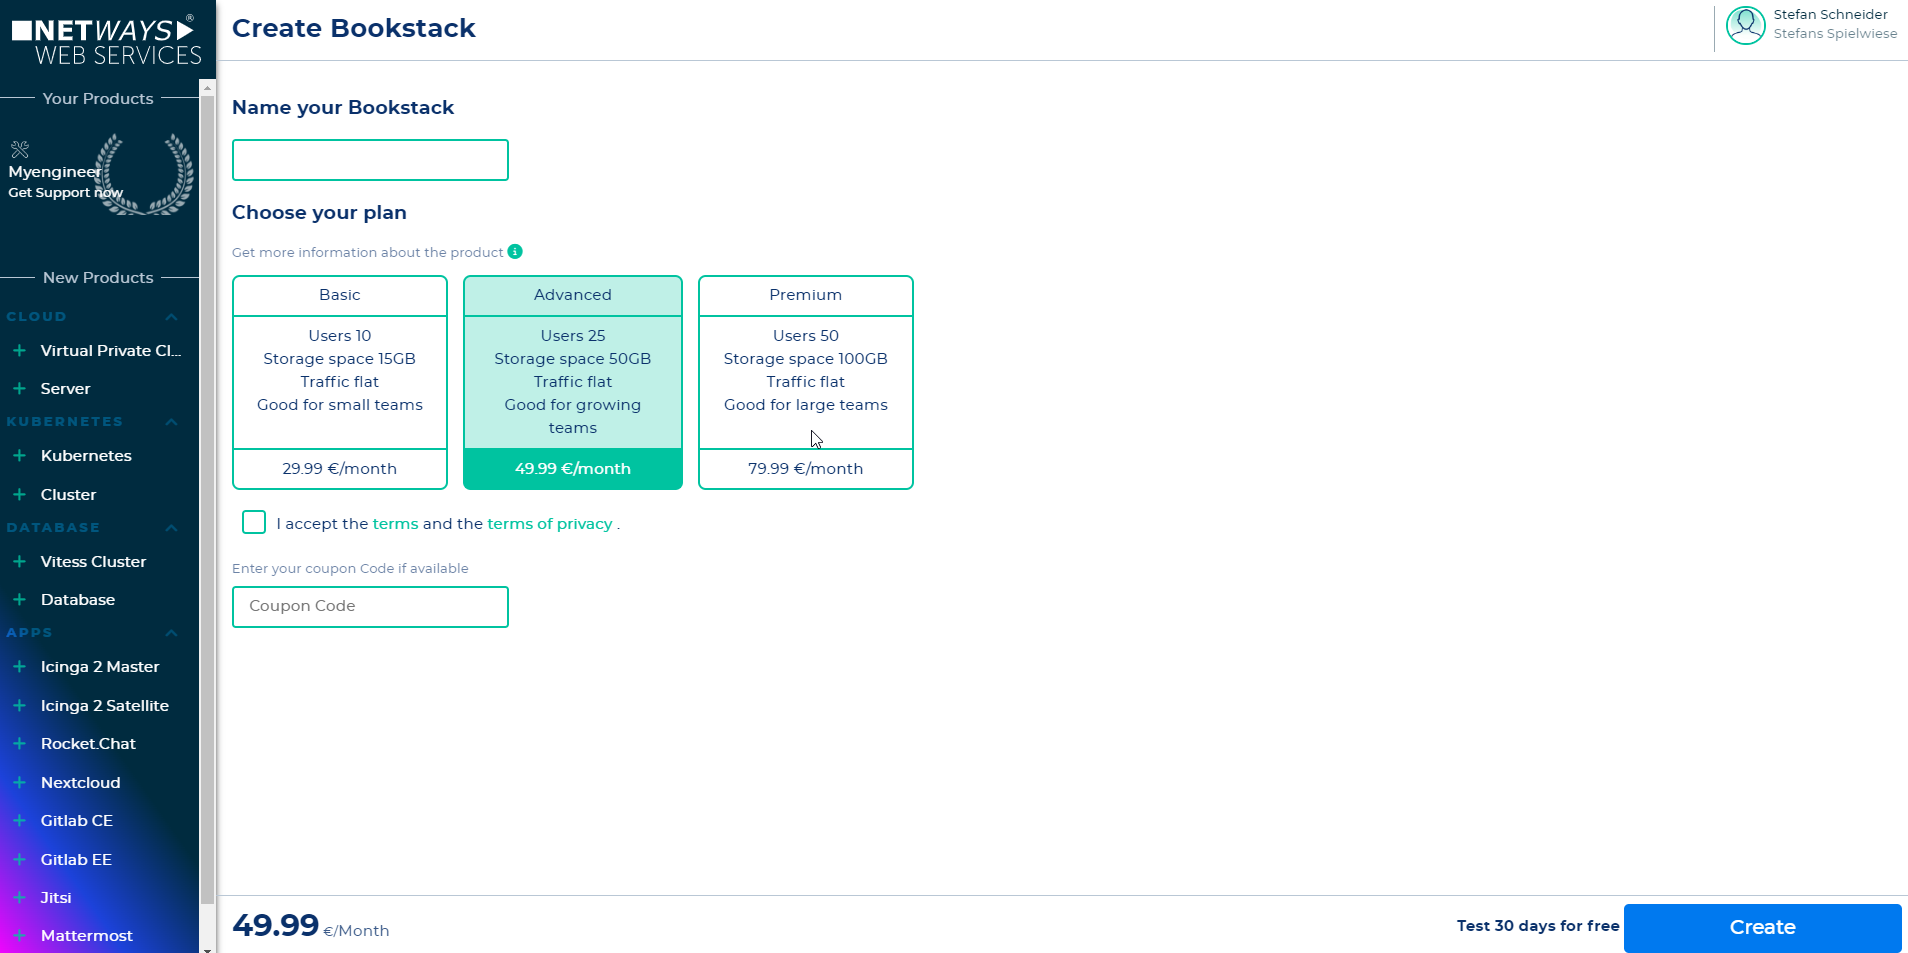
- Now name your instance, choose a plan and accept the terms of conditions -> press down-right "create"-button

- Now your app is beeing created ->

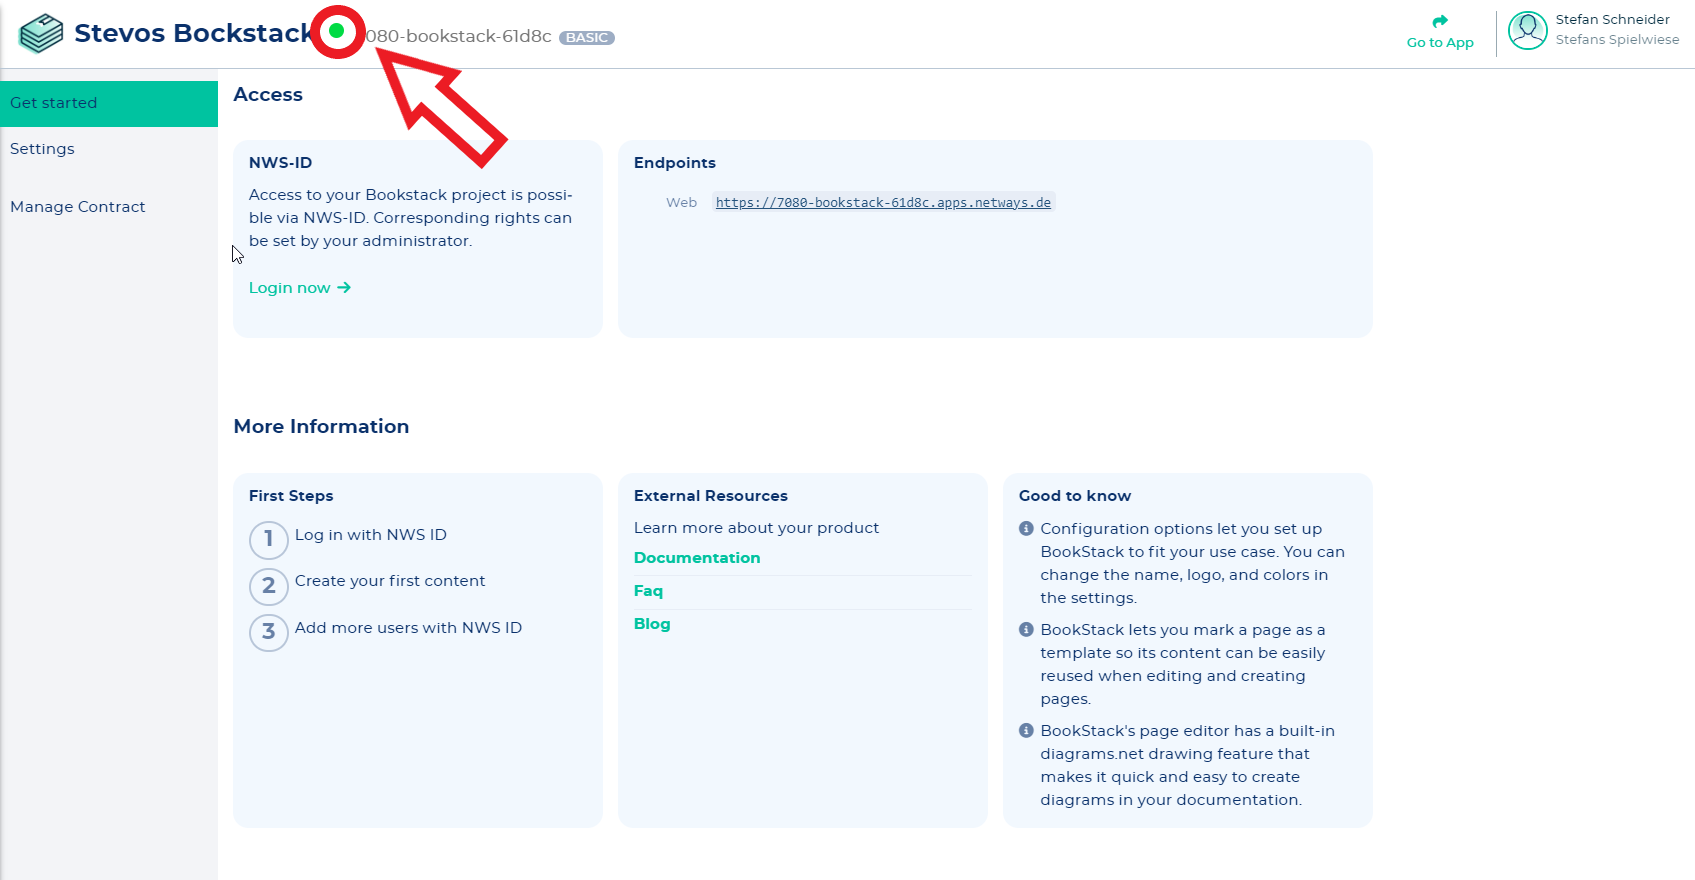
- When the circle turns from grey to green, you are ready to go (may be you have to refresh your browser)

Logging in
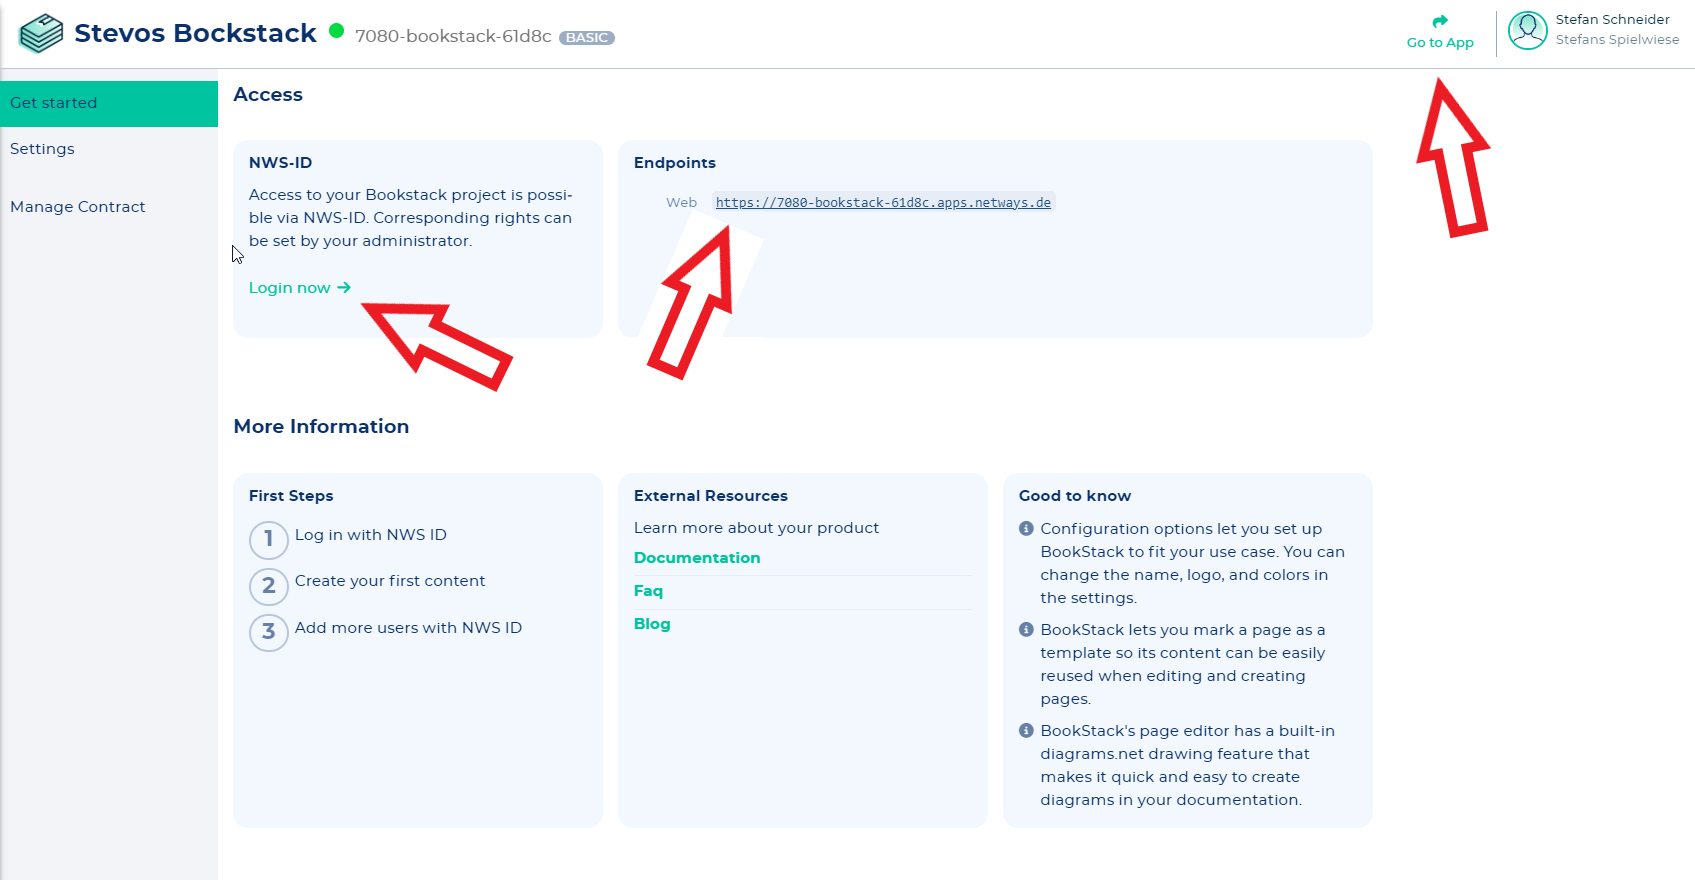
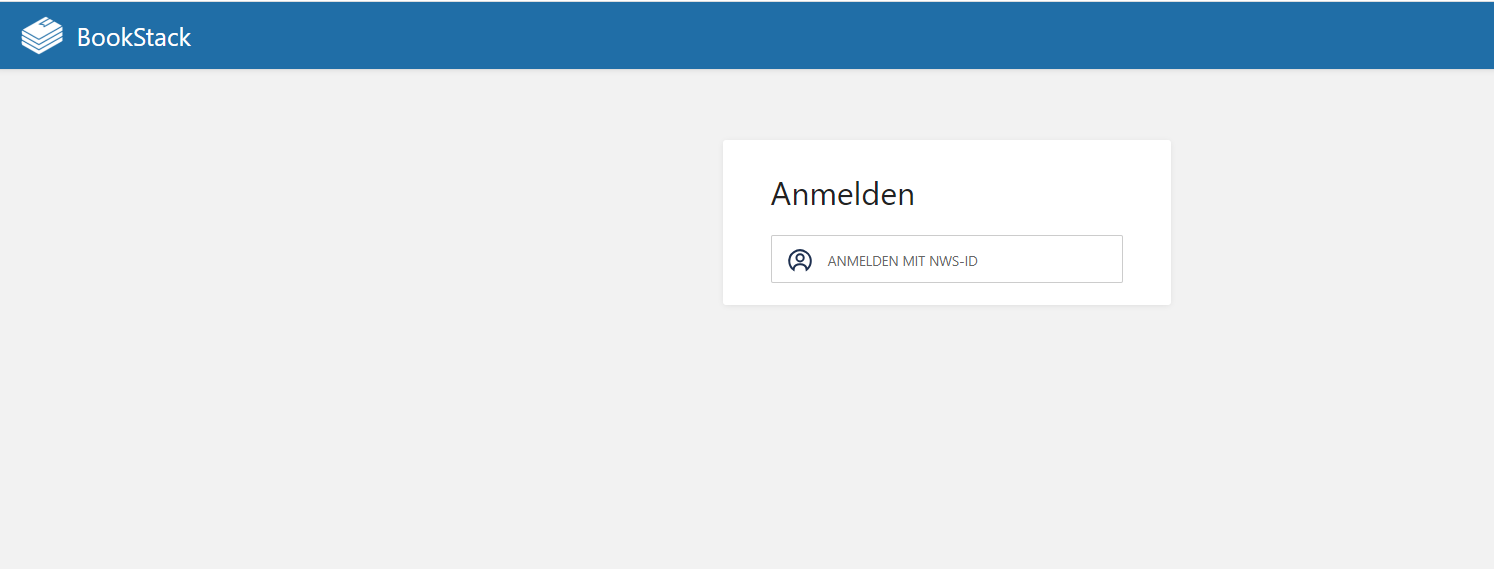
- You no longer need a separate password to log in to Bookstack. This works automatically via our NWS ID.
- just click on the Login now - link or the Endpoints Web-Link or the "Go to App"- button to get to your Nextcloud instance


Administrative Tasks
Customization
1. Subdomain
Just go to your Bookstack app in the NWS Customer Interface and click on "Settings". Open the "CNAME"- tab and fill in your subdomain.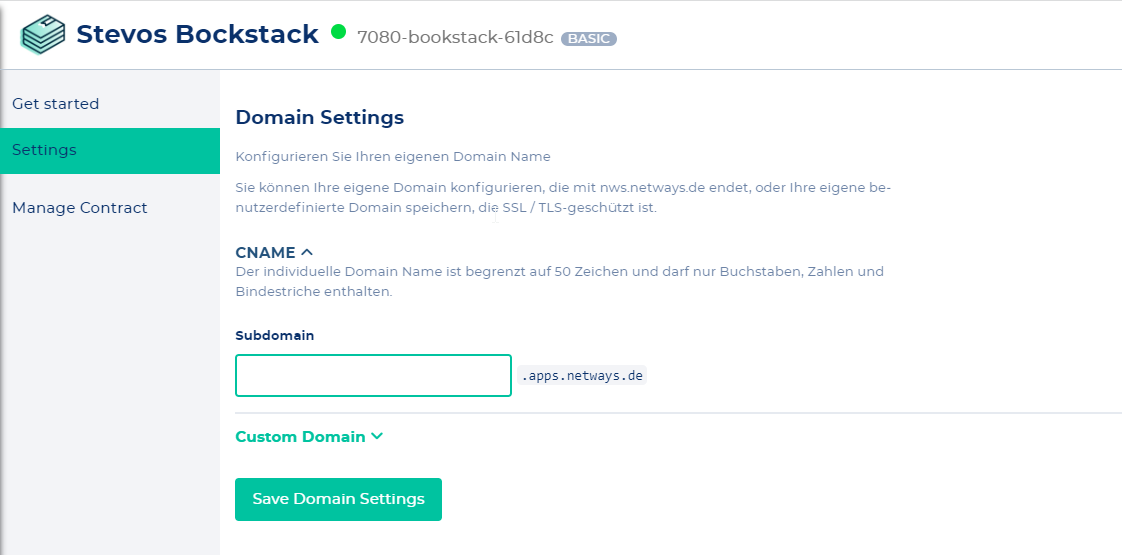
2. Customer Domain
To setup your Customer Domain, the following things must be fulfilled /accomplished:
- Domain must belong to you
- You must set an A-record to IP
193.142.157.137for the domain name- You enter this in our NWS Customer interface at your Bookstack app under "Settings"
- You specify if you want to have a Let's encrypt certificate or an SSL certificate
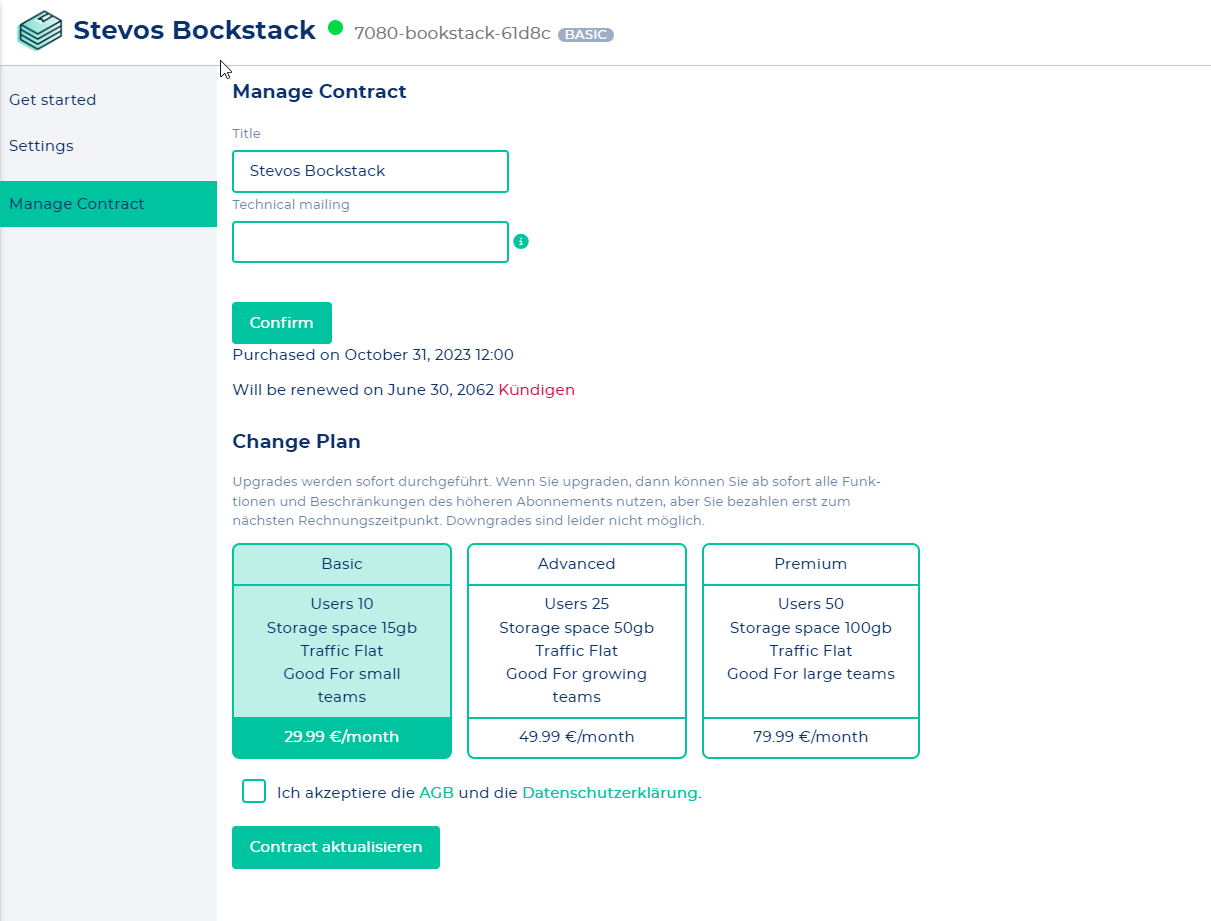
Upgrade to a bigger plan
Just go to your Bookstack app in the NWS Customer Interface and click on "Manage contract". Here you can upgrade to Advanced or Premium plan. If the Premium plan is no longer sufficient, contact us via sales@netways.de and we will provide you with a customized solution on OpenStack.