Attaching a snapshot (as an additional volume) to a Ceph-based VM
Locate snapshot
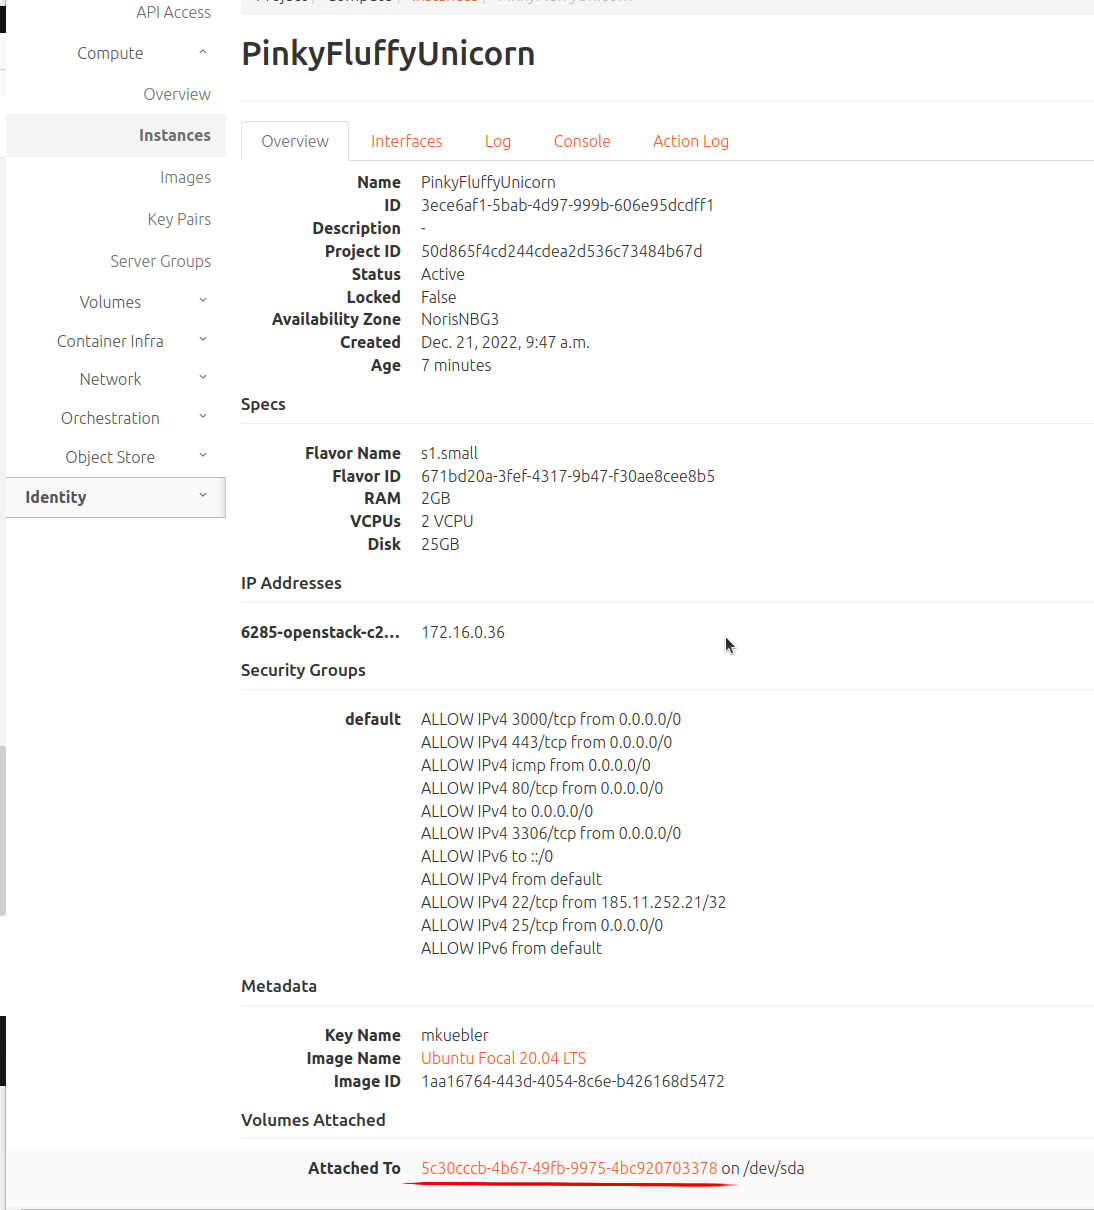
Visit the details page of your VM, click on the VM name, you will see the following screen and the attached disc. Click on the disc to go to the overview page.
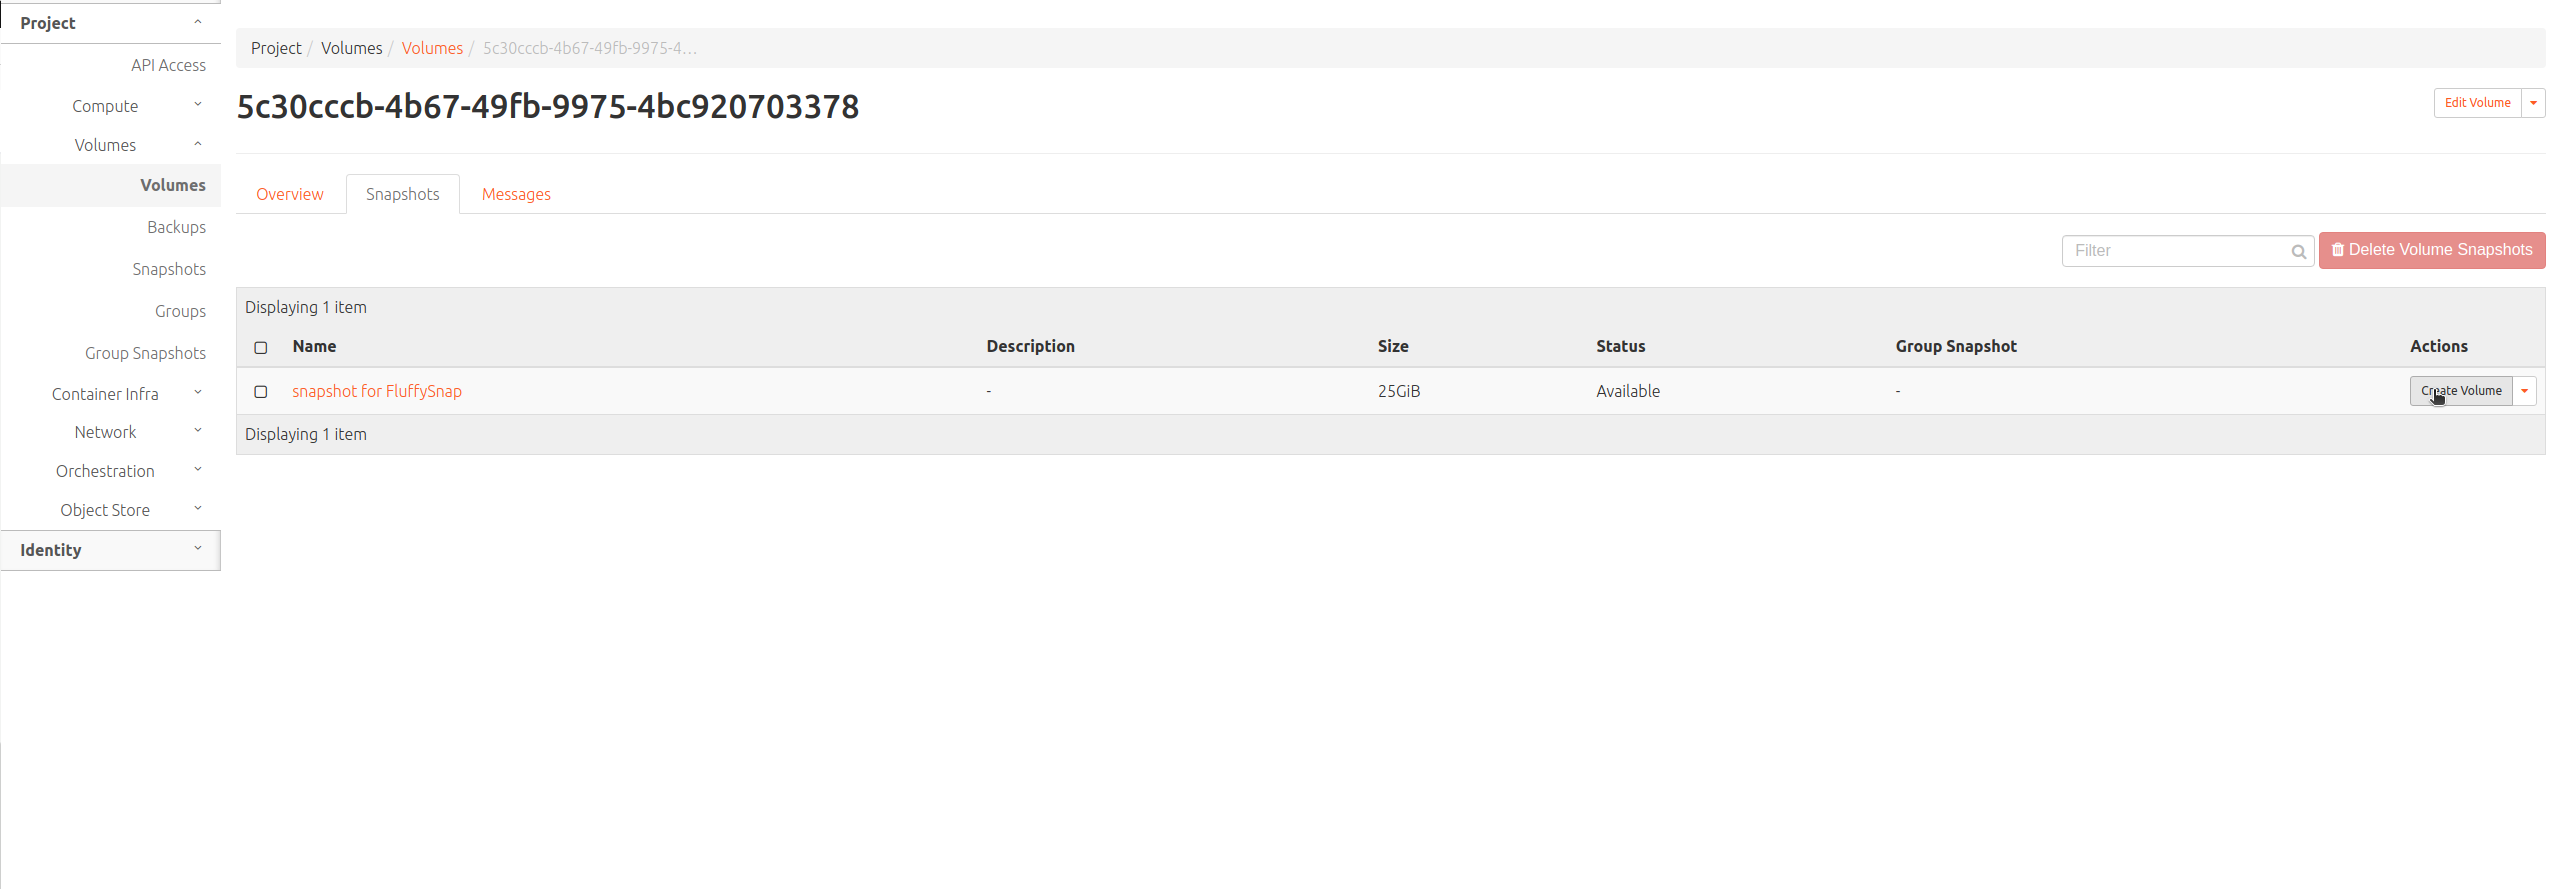
Switch to the snapshots tab to view the snapshots created manually or automatically for this machine.

Create volume
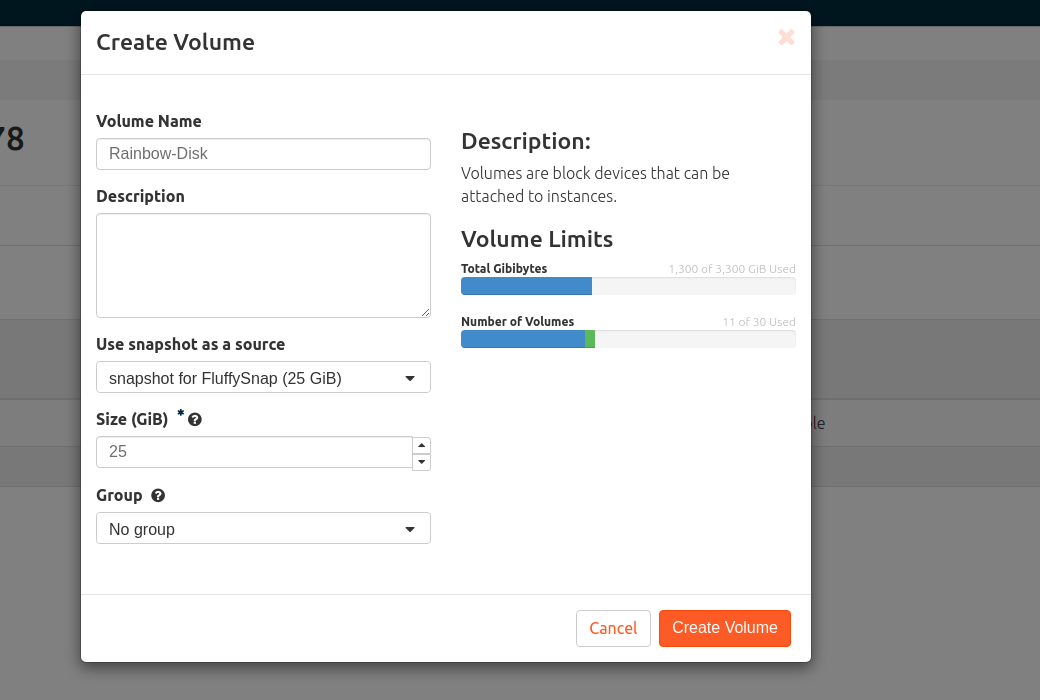
On the snapshot overview page, select the desired snapshot and create a volume from it.
Now assign the desired name for your volume in the next tab.
Attach volume
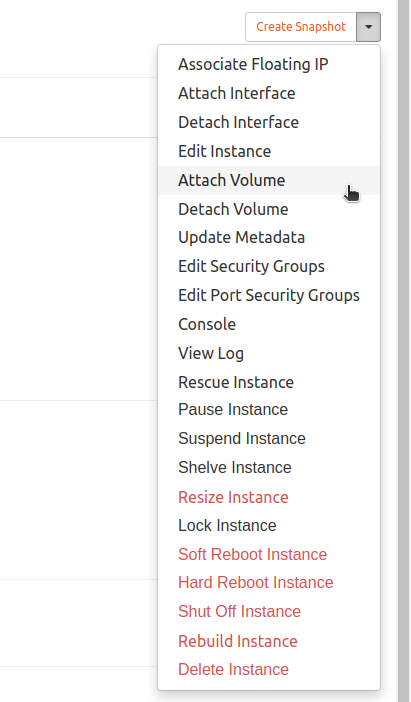
When the process is complete, you can attach the volume you just created on the overview page of your instances.

Mount volume
Your volume is now ready on the system, now you need to take a few more steps on the system.
Log into the system
- become root
-
make sure which is the system disc
df -h - Display available system disk
fdisk -l - Disk mounten
mount /dev/sdb1 /mnt
Disassembly
- Volume unmounten
Attention, you must not be in the mount directoryumount /mnt - Detach data carrier at the machine
Instance overview -> desired instance -> "Detach volume".
Delete volume and if necessary manually created snapshot
Volume -> Detach volume -> Delete volume
If the volume was attached overnight, it may also have been backed up, in which case the snapshot created must be deleted before deleting the volume.