Connect to the created cluster
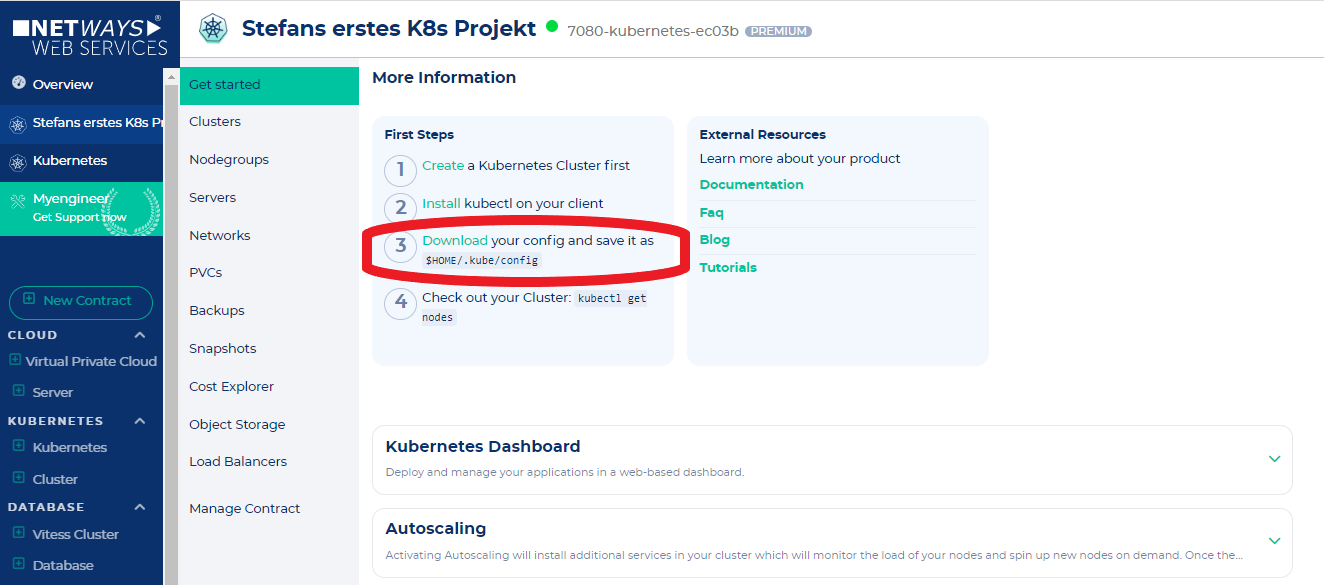
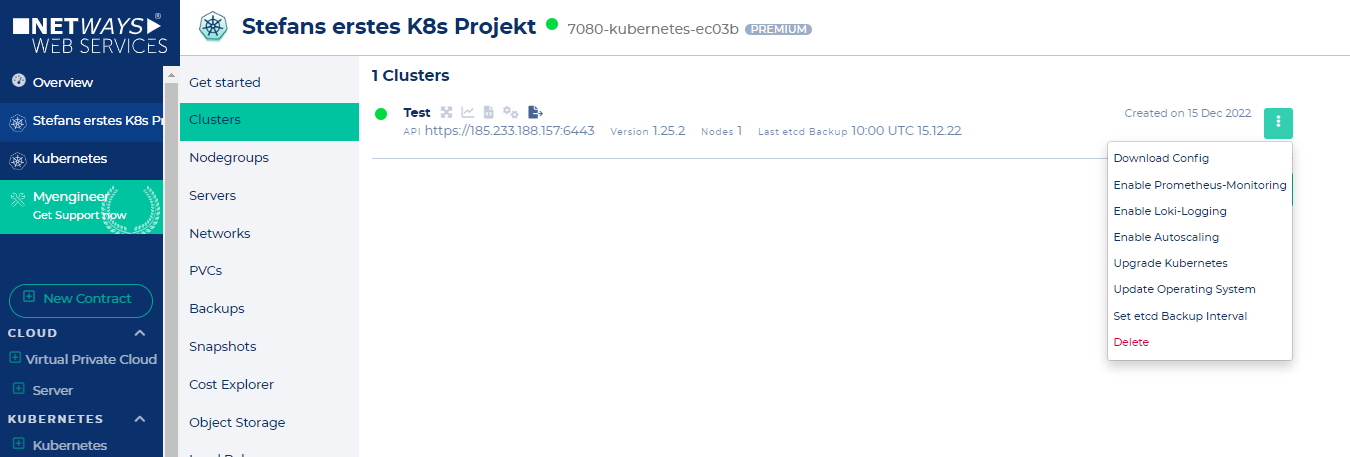
Now that the cluster is built and kubectl is already installed, it is time to connect to the cluster. This is done by clicking on "Download-Config" in the context menu next to the cluster in the NWS backend.
The just downloaded Config must now be moved to the correct place.
To do this, we create a directory in the user home that is still required (if it does not exist) and copy the file into it. At the end we adjust the rights. All work is done as a local user:
mkdir ~/.kube
mv ~/Downloads/config ~/.kube/
chmod 0600 ~/.kube/config
Kubectl should now automatically use the new config. To see if works we can try to list all cluster nodes as done below. If you use NWS-ID, your browser will open for authentication. After that, just switch back to the terminal.
$ kubectl get nodes
NAME                                     STATUS   ROLES    AGE   VERSION
workshop-virgin2-ytwudzfwjco6-master-0   Ready    master   17h   v1.23.1
workshop-virgin2-ytwudzfwjco6-node-0     Ready    <none>   17h   v1.23.1