Mount snapshots as an additional volume
Snapshots can be created at any time, or at regular intervals via the my.nws.netways.de customer interface. Snapshots are suitable for data protection, but not as a disaster‑recovery backup. See Backup‑vs‑Snapshot. If you only want to restore individual files rather than the whole snapshot, it makes sense to turn a snapshot into a volume and provide it as an additional block device within a running VM.
Attach snapshot
Find snapshot
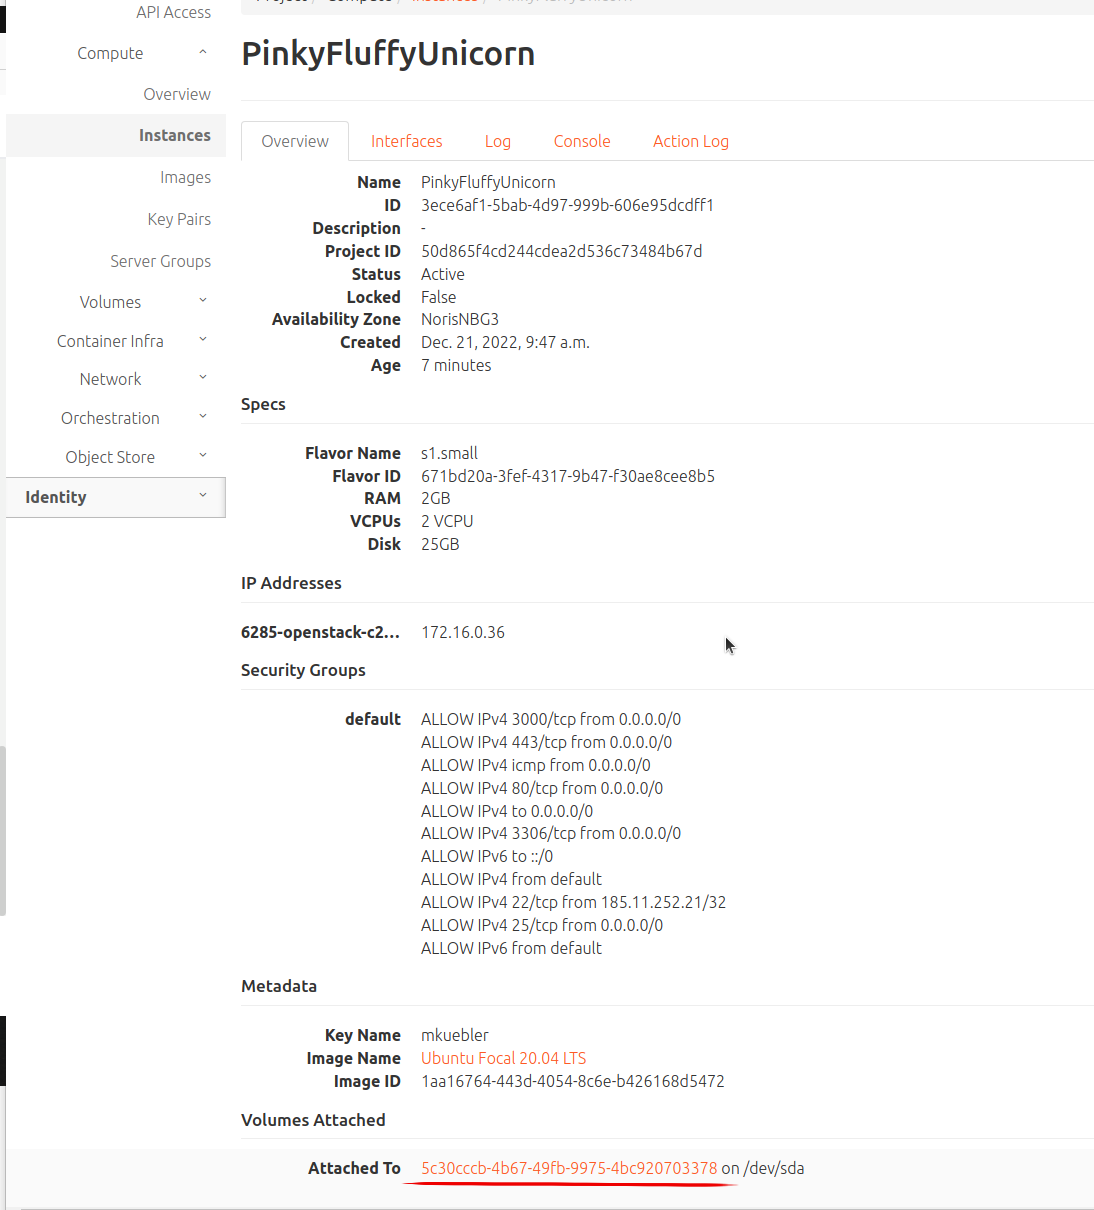
First, open the VM’s detail page by clicking on the VM’s name. The following screen, showing the attached disk, will be displayed. Clicking on the disk takes you to the overview page.
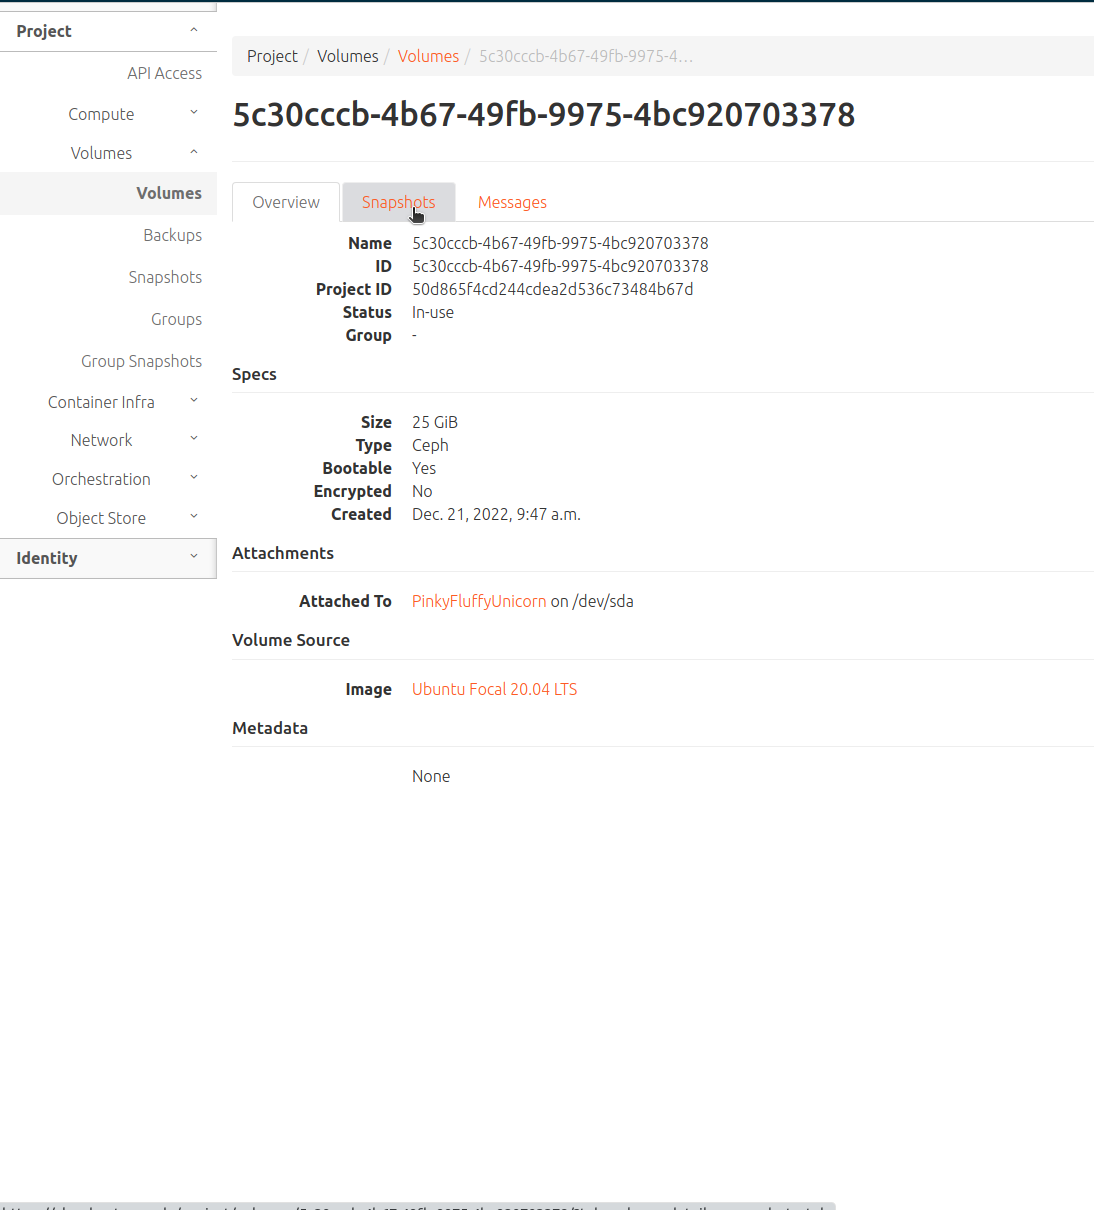
Now switch to the Snapshots tab to view the manually or automatically created snapshots for this machine.
Create volume
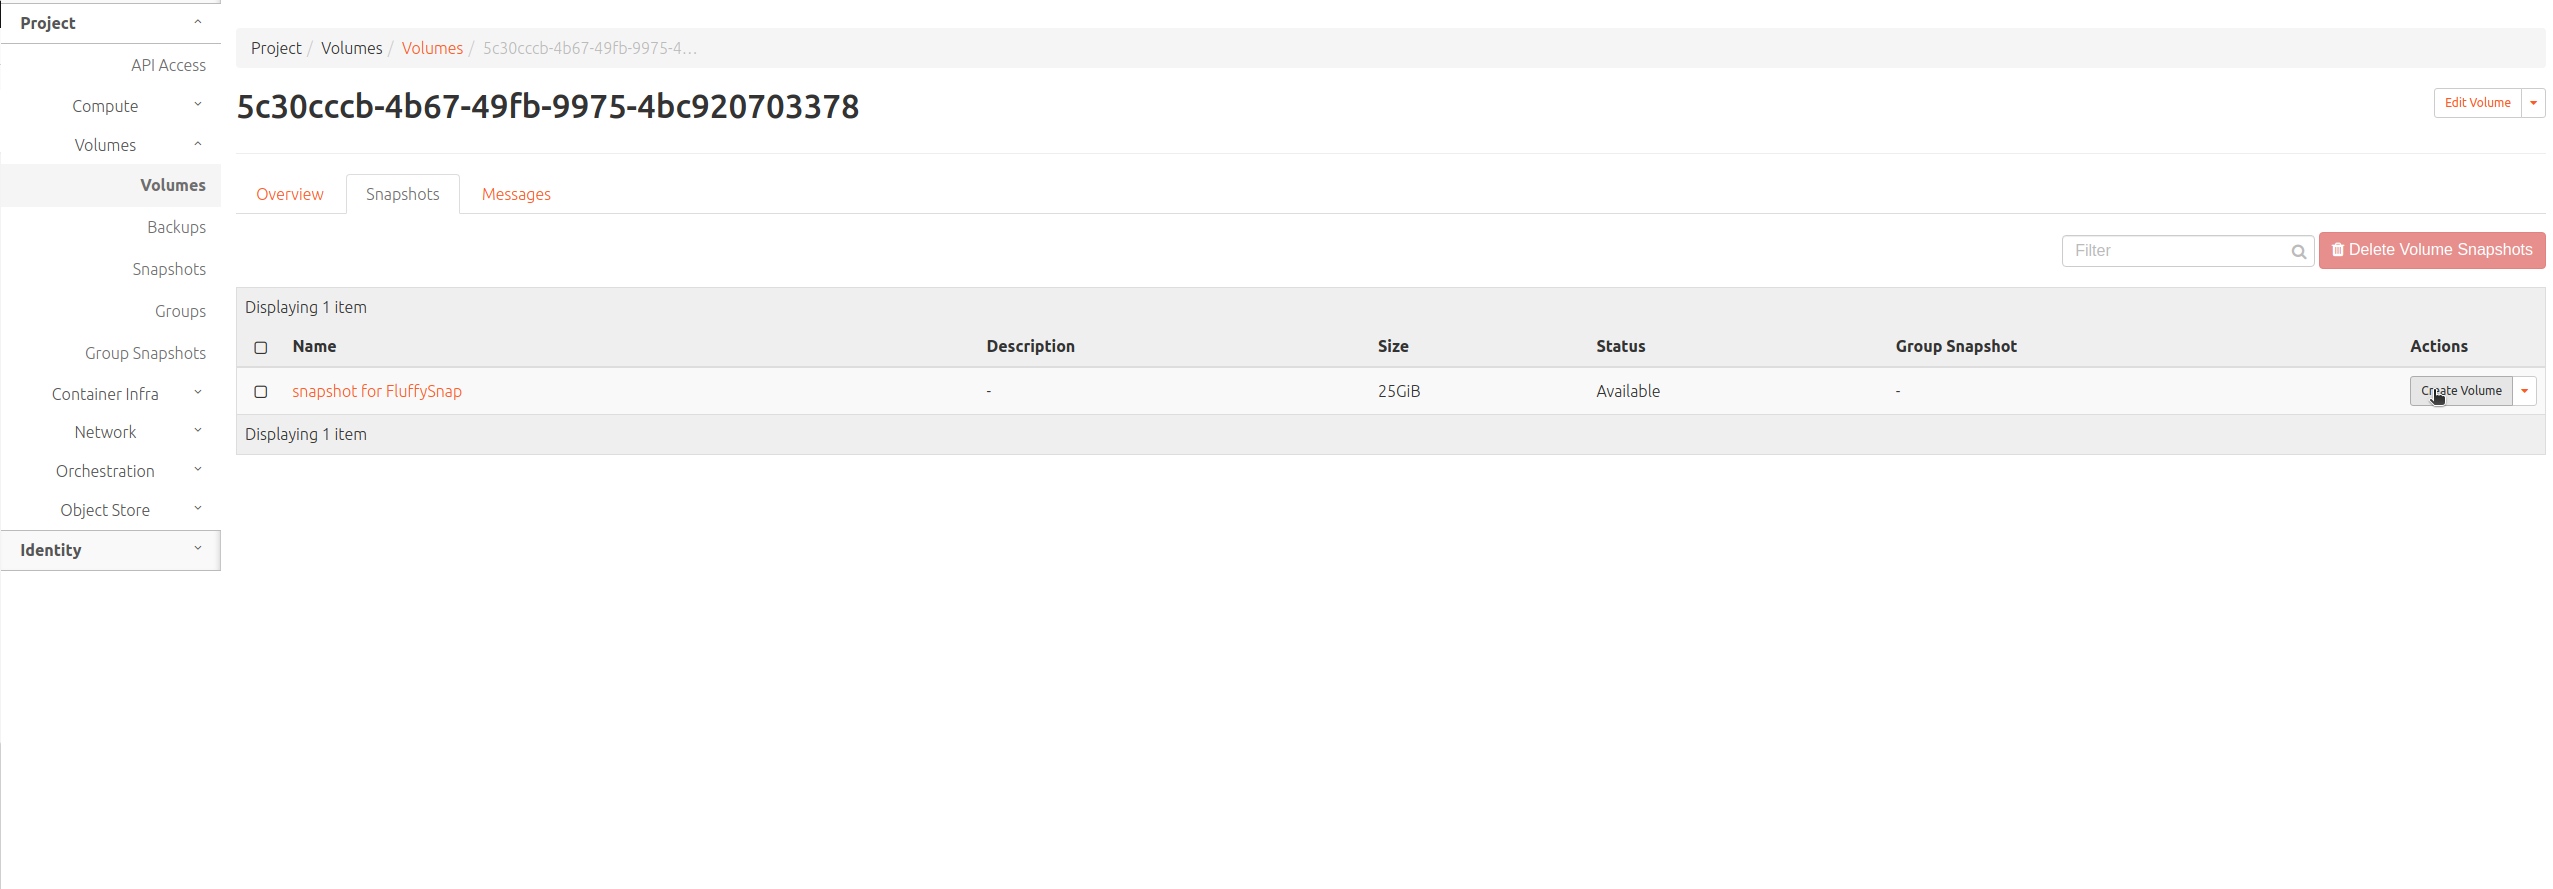
On the snapshot‑overview page, select the desired snapshot and create a new volume from it.
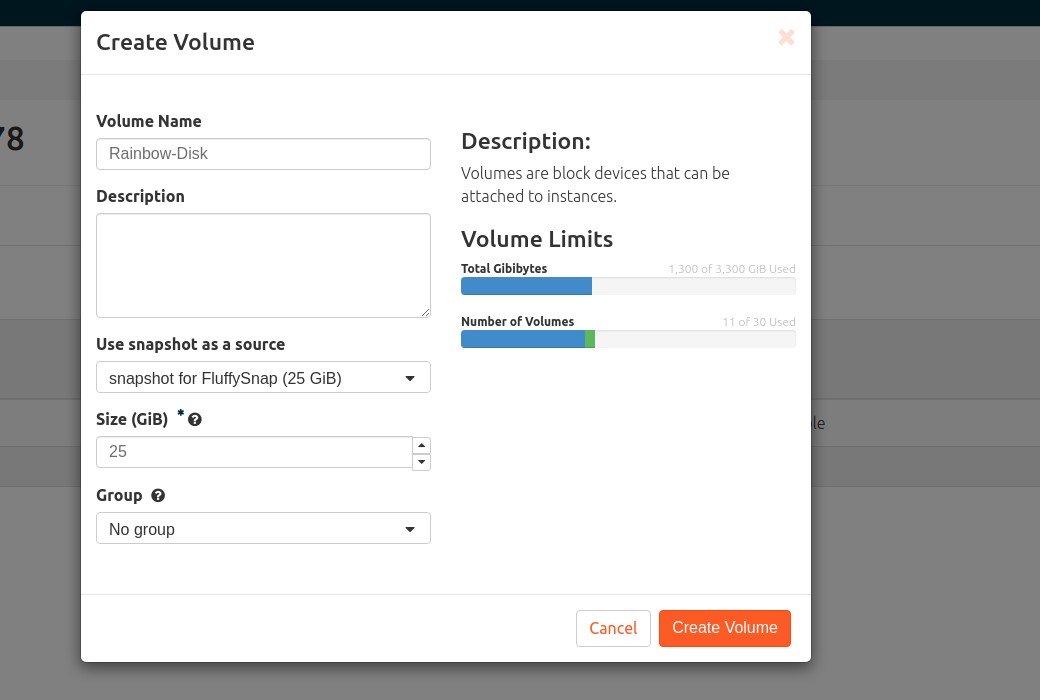
In the next step, assign the desired name for the volume.
Attach volume
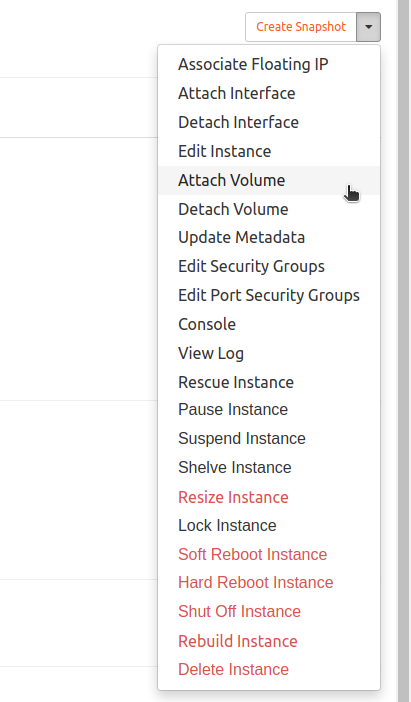
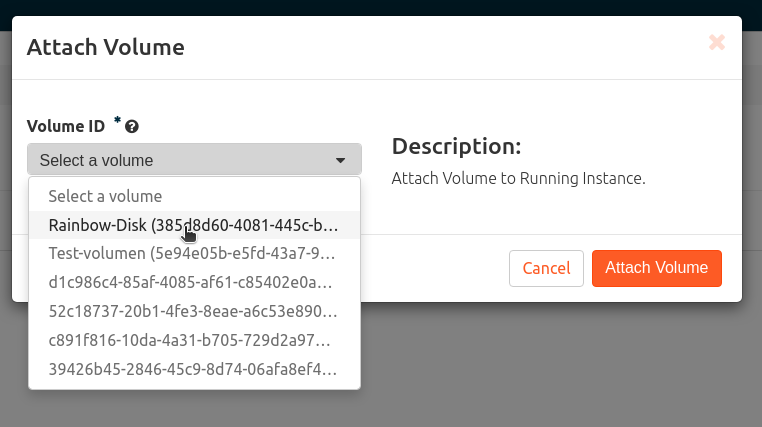
After the process finishes, the newly created volume can be attached via the instances overview page.
Mount volume
The volume is now available in the system, but a few more steps are required.
Log in to the system:
- Gain root privileges
- Identify the system disk
- List available disks
- Mount the disk
Detach the volume
- Detach volume
Important: The mount point must not be in use. - Disconnect the disk from the machine
- Navigate to the instance overview
- Select the desired instance
- Choose Detach volume
- Delete the volume and, if necessary, manually remove the previously created snapshot
- Volume → Detach volume → Delete volume
Nightly snapshots
If the volume was attached overnight, it may have been backed up. In that case, the created snapshot must be removed before deleting the volume.